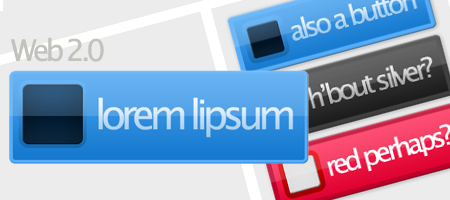
Understanding the tutorial below is understanding it’s technique, with it you can draw yourself some graphical user interface for a website. Side navigation, buttons, headers, for instance. All Web 2.0 style.
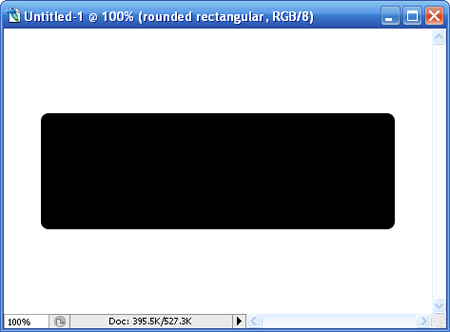
Launch a new canvas; any size. Something bigger than 450x300px would be good. Select the Rounded Rectangular Tool and draw a rectangular as big as shown in the image above.
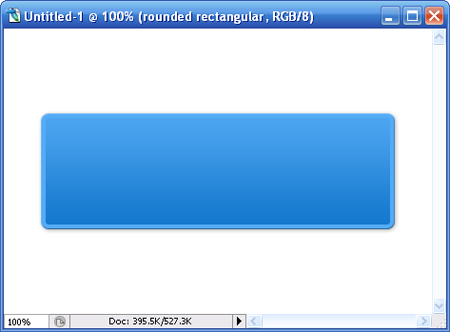
Double click on the layer of the Rounded Rectangular to launch the Blending Options. Alter the settings for the following styles.
Drop Shadow
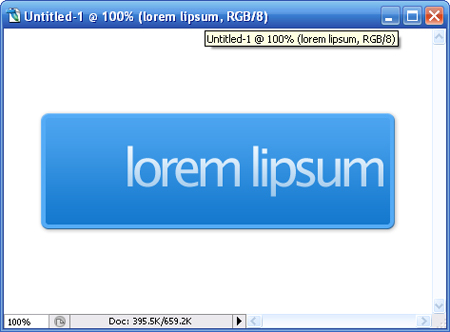
Let’s insert some text, a tagline, URL or something. Have it middle and align right so logo can reside on the left side later. Let’s style the text. I’m using Lucida Sans Unicode; 55pt; smooth; -120 for character tracking (letter spacing). Double click on text layer and set the following in Blending Options.
Gradient Overlay
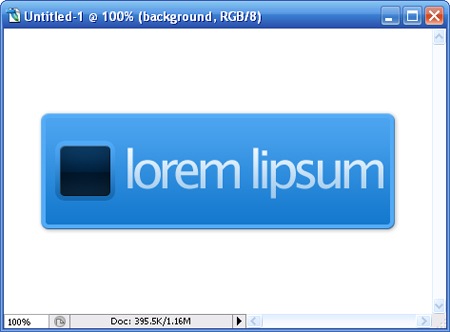
You will then need to insert the logo on the left side of the text. I’ll use a rounded rectangular with radius 5px to represent the logo. Here’s the Blending Option settings for the rounded rectangular.
Inner Shadow
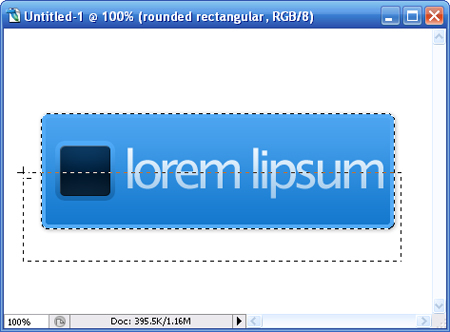
Let’s give it a little glossy effect. Hold CTRL and left click on rounded rectangular Layer Thumbnail. When the entire rounded rectangular is selected, changed to Rectangular Marquee tool, hold ALT and draws-out the second half of the selected area; just like the image above.
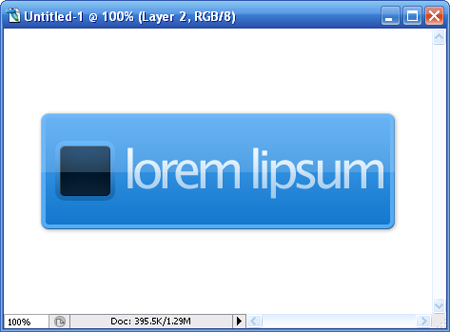
Create a new layer; Drag it up so it sits on top of all layers; fill the selected part with white [#ffffff]; change the opacity to 15%.
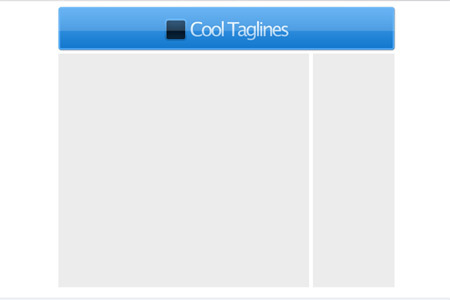
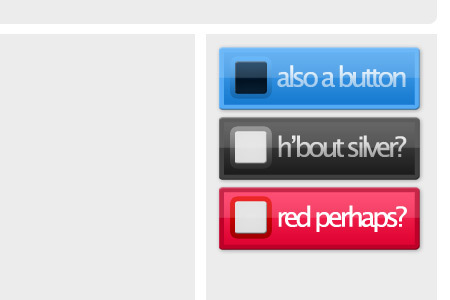
The tutorial will end here. How you going to make use of this design is entirely up to you. By slightly changing it’s size and colors, it can be used as a web header or buttons. Here’s some example.
Website Header
Website Buttons


Launch a new canvas; any size. Something bigger than 450x300px would be good. Select the Rounded Rectangular Tool and draw a rectangular as big as shown in the image above.

Double click on the layer of the Rounded Rectangular to launch the Blending Options. Alter the settings for the following styles.
Drop Shadow
Opacity:31%Bevel and Emboss
Distance:1px
Spread:0%
Size:5px
Depth:100%Gradiant Overlay
Size:0px
Soften:0px
Double click Gradiant and set the following stop points.Stroke
Location:0%, #1378cd
Location:100% #4da5f0
Size:5px
Position:Inside
Color:#54abf6

Let’s insert some text, a tagline, URL or something. Have it middle and align right so logo can reside on the left side later. Let’s style the text. I’m using Lucida Sans Unicode; 55pt; smooth; -120 for character tracking (letter spacing). Double click on text layer and set the following in Blending Options.
Gradient Overlay
Double click Gradiant and set the following stop points.
Location:0%, #9ec7eb
Location:100% ecf6ff

You will then need to insert the logo on the left side of the text. I’ll use a rounded rectangular with radius 5px to represent the logo. Here’s the Blending Option settings for the rounded rectangular.
Inner Shadow
Opacity:45%Bevel and Emboss
Distance:0px
Size:43px;
Depth:100%Gradiant Overlay
Size:0px
Soften:0px
Highlight Mode Opacity:50%
ShadowMode Opacity:100%
Double click Gradiant and set the following stop points.Stroke
Location:0% #0e2f4a
Location:47% #001a31
Location:48% #002545
Location:100% #0f4b7f
Size:5px
Double click Gradiant and set the following stop points.
Location:0% #1468af
Location:100% #50abf8

Let’s give it a little glossy effect. Hold CTRL and left click on rounded rectangular Layer Thumbnail. When the entire rounded rectangular is selected, changed to Rectangular Marquee tool, hold ALT and draws-out the second half of the selected area; just like the image above.

Create a new layer; Drag it up so it sits on top of all layers; fill the selected part with white [#ffffff]; change the opacity to 15%.
The tutorial will end here. How you going to make use of this design is entirely up to you. By slightly changing it’s size and colors, it can be used as a web header or buttons. Here’s some example.
Website Header

Website Buttons

0 comments:
Post a Comment