
Transformers the movie is by far the best movie ever created this year. Here’s something for the transformers fans – Creating Transformers and autobots & decepticons icons in Photoshop.
Downloading Transformers Fonts
Before getting started into the design, I surf around The Internet looking for similar Transformers fonts. Here is the closest I can get. Download this font and have them installed first.1. Writing Transformers and Racterized it
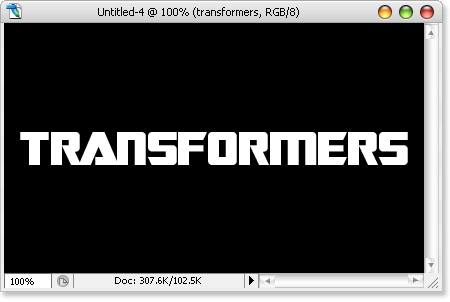
Create a new canvas at your preferred size; I’m using 420x250px. Fill it up with black background, write “Transformers” with SF TransRobotics font downloaded just now and centralized it.
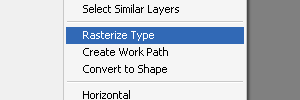
Right click on the text layer and select Rasterized type
2. Creating Similarities
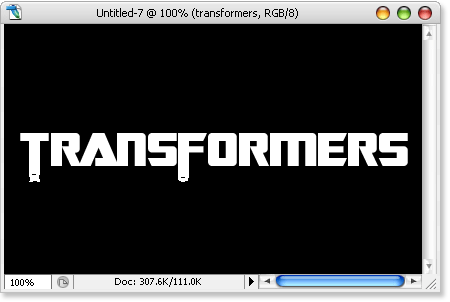
Highlight the bottom of "T" and "F" with Maquee Tool, hold Alt and keep pressing Arrow down to increase the length of both these alphabets.
3. Metal-rized the font
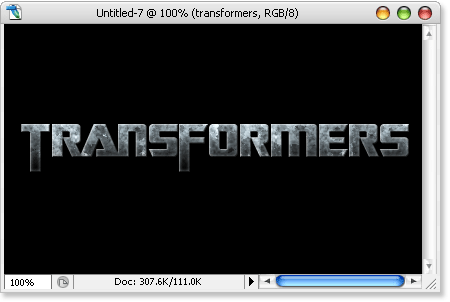
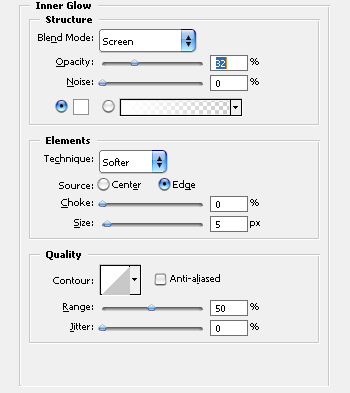
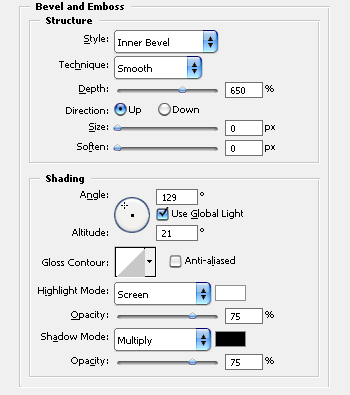
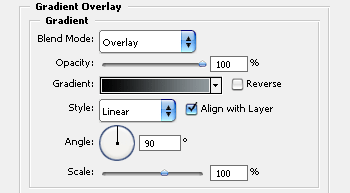
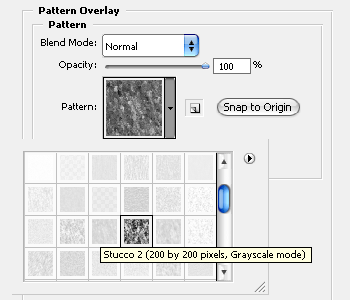
Right click on layer’s Blending Options, and adjust the following style.
Inner Glow
Bevel and Emboss
Color Overlay
Color code: #31464F
Gradiant Overlay
Color Stop 1: #000000, Location: 0%
Color Stop 2: #90999d, Location: 100%
Pattern Overlay
4. A little Glow
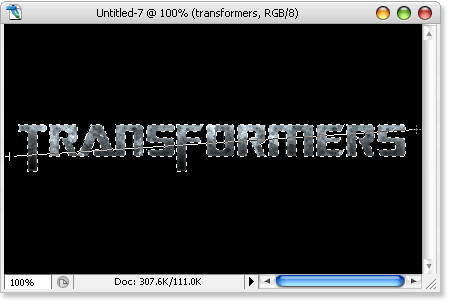
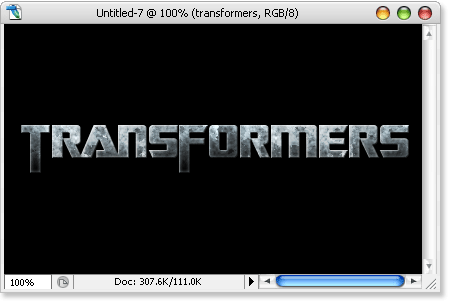
Hold Ctrl, left click on the Transformer text’s layer thumbnail to highlight the selection. Create a new layer, select G radiant Tool and draw across from left to right as illustrated in the image above. Change the blend mode to Overlay and adjust Opacity to 50%. Your final product will look something like this.
5. Autobots and Decepticons
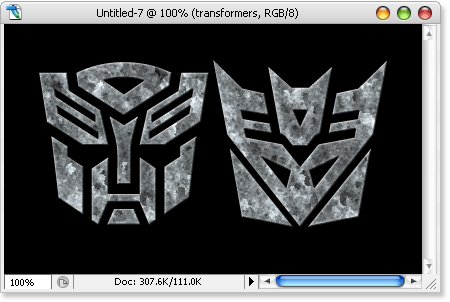
SF TransRobotics font’s "<" and ">" draws the logo for Autobots and Decepticons. What you need to do is copy the layer style from "Transformers" and paste it on the logos layers.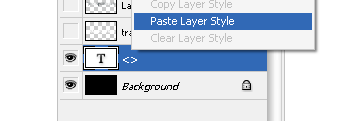
Expand the layer, and click on the eye of Gradient Overlay once to hide it. Your final Autobot and Decepticons logo will look something like this.


0 comments:
Post a Comment