
Buttons Photoshop tutorials are probably one of the hottest categories in any Photoshop tutorials site and since Web 2.0 is such hot topics now, lets go about doing a simple button suitable for any Web 2.0 application of websites. Tutorial after jump.
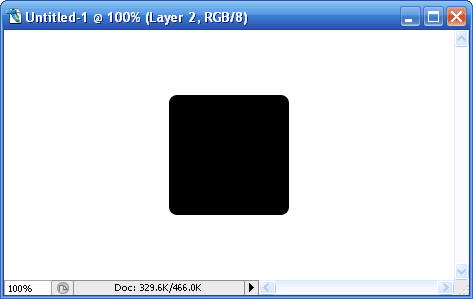
Create a blank canvas at about 500px (width) x 400px (height) to start off the button design. Create a new layer call ‘bg01‘. Select the Rounded Rectangular Tool, hold SHIFT and draw a round sided square in the center. Any color is fine at the current stage.

Call up the Blending Options of ‘bg01‘ and adjust the following styles:
Drop Shadow
- Opacity: 40%
- Distance: 0px
- Spread: 0%
- Size: 6px
- Color stop: 0%, #d00031
- Color stop: 100%, #ff2b5d
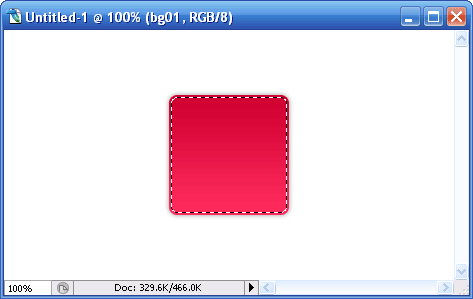
Hold CTRL, left click on ‘bg01‘ Layer Thumbnail to select its shape. Go Select -> Modify -> Contract and enter the value ‘2px‘. This will shrink the selected area by 2 pixel.
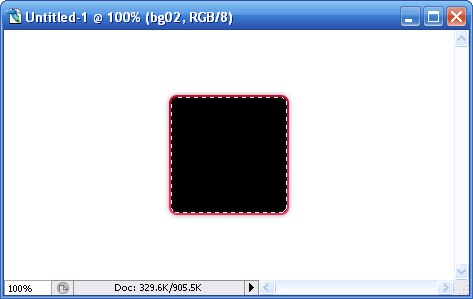
Create a new layer call ‘bg02‘ and filled the highlighted (after shrink) area with any color. I use #000000 black here. Double click on ‘bg02′ to launch up the Blending Option and tweak the following style.
Gradiant Overlay
- Color stop: 0%, #c6002f
- Color stop: 100%, #c6002f
- Rounded Arial Bold
- 150pt
Drop Shadow
- Opacity: 25%
- Distance: 0px
- Spread: 0px
- Size: 5px
- Opacity: 10%
- Distance: 0px
- Choke: 0
- Size: 10px
- Depth: 1px
- Direction: Down
- Size: 0px
- Softten: 0px
- Highlight Mode Opacity: 32%
- Shadow Mode Opacity: 32%
- Color Stop:0% #d2d2d2
- Color Stop:100% #f0efef
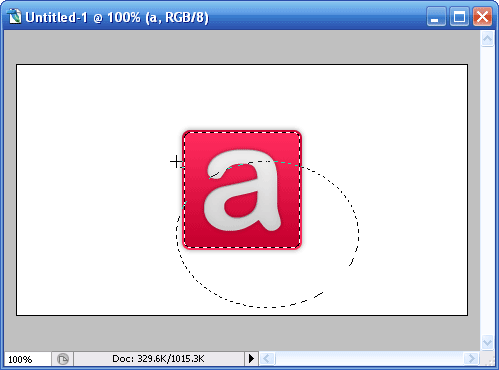
Button is almost done. Let’s give it a little glow over the top part. Hold CTRL, left click ‘bg02‘ Layer Thumbnail to highlight the outer shape; choose Eclipse Marquee Tool. Now hold ALT, with Eclipse Marquee Tool selected, drag is across to minus out bottom half of the highlighted area. Refer to image above.
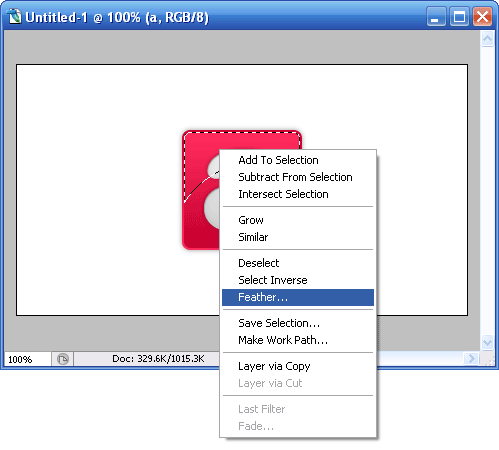
With the top portion highlighted and Eclipse Marquee Tool still selected, right click and choose Feather; enter 15px for the radius.
Create a new layer, call it ‘glow‘ and fill the highlighted part with white [#ffffff]. This should add glow effect to the top part of your button. Final product should look something like the image below.

Something extra..

Tweak the Blending Options of ‘bg01‘ and ‘bg02‘ will give you more interesting buttons. Here’s another Photoshop tutorial on button I’ve done previously – Create Glossy button for Web 2.0
0 comments:
Post a Comment